In today’s digital landscape, ensuring the security and performance of your WordPress website is paramount. XML-RPC, a remote procedure call protocol used by WordPress, can be both a powerful tool and a potential security vulnerability. By disabling XML-RPC, you can fortify your site against potential attacks and improve its overall performance.
This article will guide you through the process of disabling XML-RPC in WordPress, providing you with the knowledge and tools to enhance the security of your website.
Learn how to disable XML-RPC in WordPress to enhance your website’s security and performance. Follow this comprehensive guide to safeguard your site from potential vulnerabilities.
What is XML-RPC in WordPress?
Before we delve into the process of disabling XML-RPC, let’s first understand what it is and how it functions within WordPress. XML-RPC, or XML Remote Procedure Call, is a protocol that enables communication between different systems over the Internet. In the context of WordPress, XML-RPC allows remote connections to be established with the website, providing functionalities such as content management and remote publishing.
While XML-RPC offers convenience and flexibility, it can also pose a security risk if left enabled. Hackers and malicious entities may exploit vulnerabilities in XML-RPC to gain unauthorized access to your website or carry out brute-force attacks.
Additionally, XML-RPC can consume server resources and impact the performance of your site, especially under heavy traffic conditions. Disabling XML-RPC mitigates these risks and ensures a more secure and efficient WordPress environment.
How to Disable XML-RPC in WordPress
To disable XML-RPC in WordPress, follow these simple steps:
Step 1: Backup Your Website
Before making any changes to your WordPress site, it is essential to create a backup. This ensures that you have a restore point in case any issues arise during the process.
Step 2: Disable XML-RPC with a Plugin
One of the easiest ways to disable XML-RPC is by using a dedicated plugin. Install and activate a trusted security plugin such as “Disable XML-RPC” from the WordPress repository. Once activated, the plugin will handle the XML-RPC disabling process automatically.
Step 3: Disable XML-RPC Manually
If you prefer a manual approach, follow these steps:
- Access your WordPress site’s root directory using an FTP client or file manager provided by your hosting provider.
- Locate the
.htaccessfile and open it for editing. - Add the following code snippet at the beginning of the file: #Disbale XML RPC <Files xmlrpc.php>Order Deny,Allow Deny from all </Files>
- Save the file and upload it back to your server, overwriting the existing
.htaccessfile if prompted.
Step 4: Verify XML-RPC is Disabled
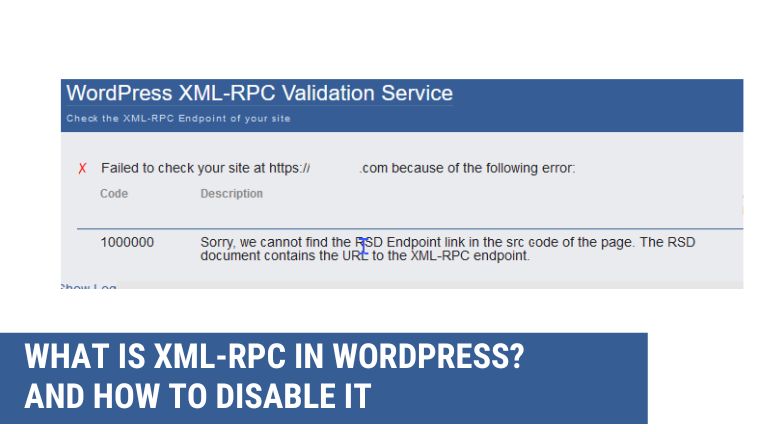
To ensure XML-RPC is successfully disabled, use an online tool or security plugin that can scan your website and detect the presence of XML-RPC. Verify that the protocol is no longer accessible.
By following the steps outlined in this guide, you can safeguard your site against potential vulnerabilities and unauthorized access. Remember to back up your website before making any changes and verify that XML-RPC is successfully disabled. With XML-RPC disabled, you can enjoy a more secure and optimized WordPress environment.